Arizona Cardinals Photos
#CardsCamp Day Five
More pictures from training camp practices
1 / 24
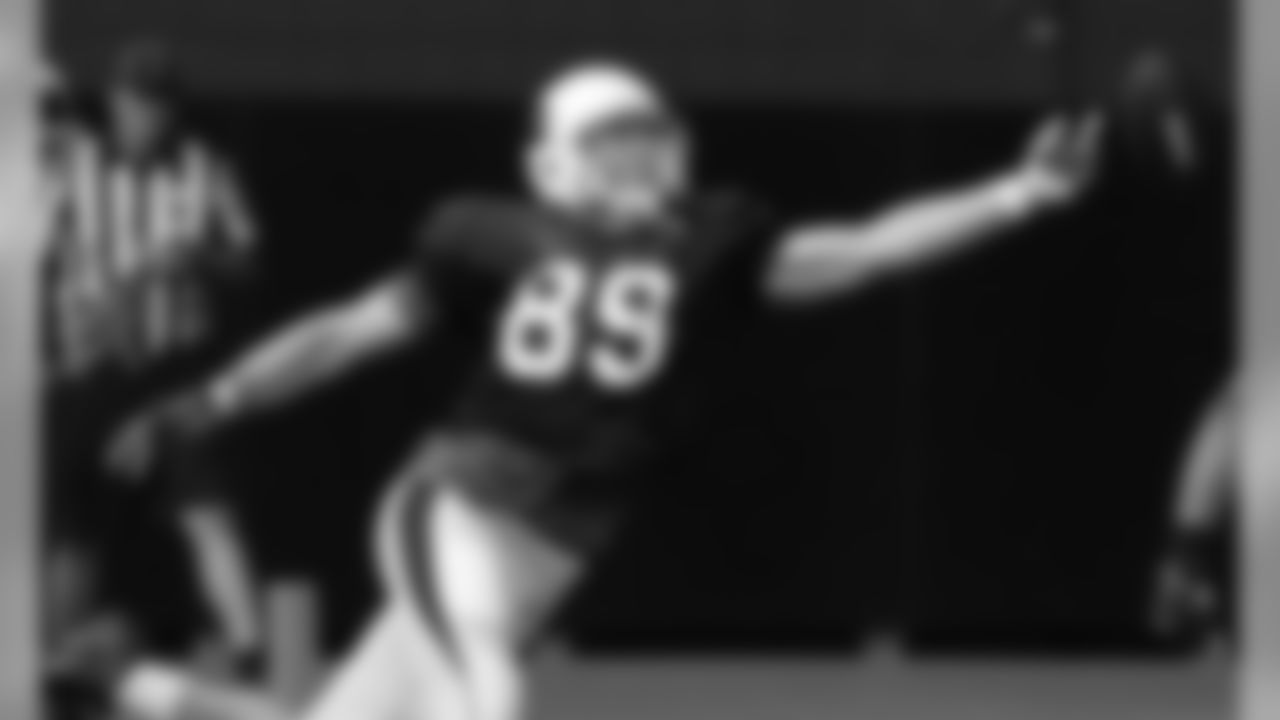
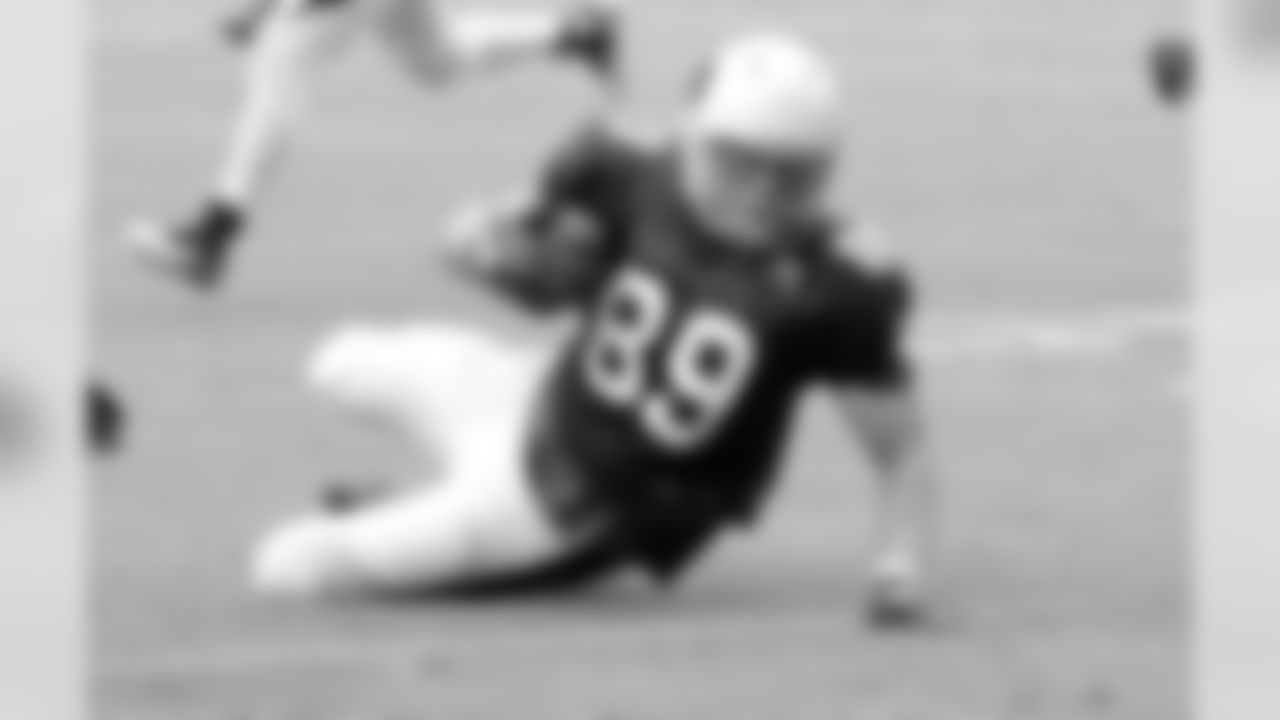
TE John Carlson just misses hauling in a pass
2 / 24
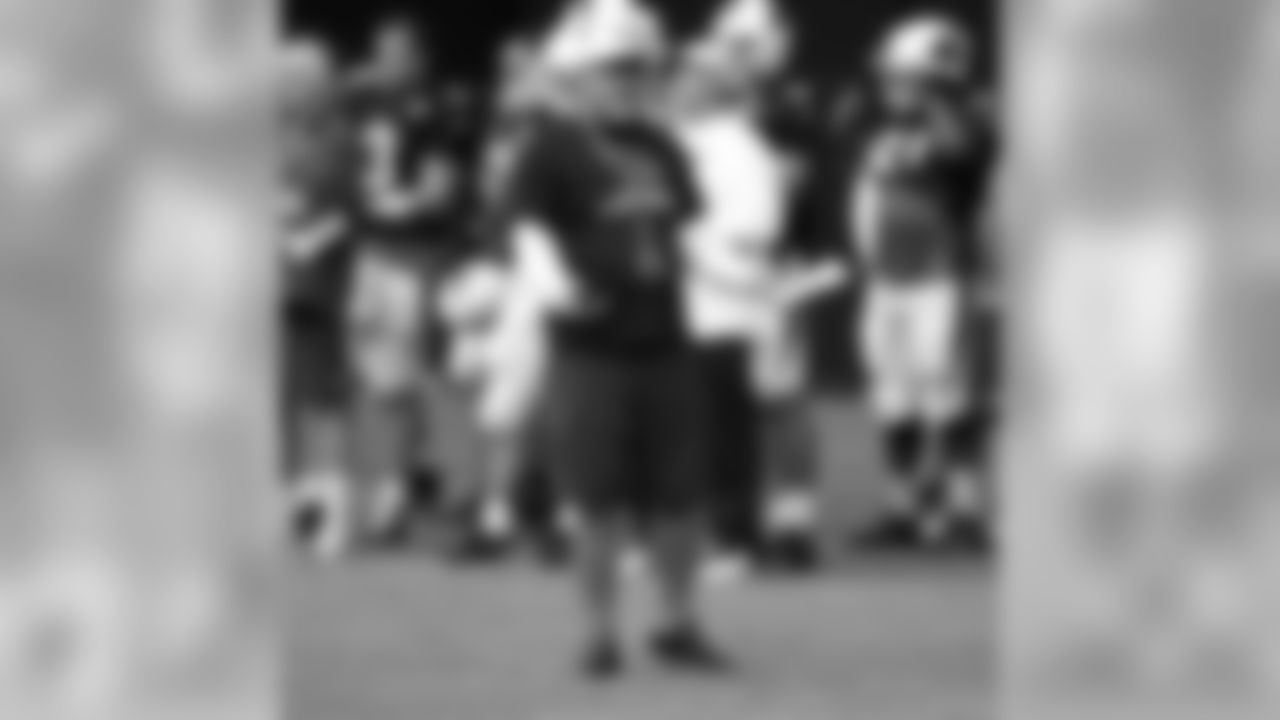
Coach Bruce Arians

3 / 24
RB Zach Bauman
4 / 24
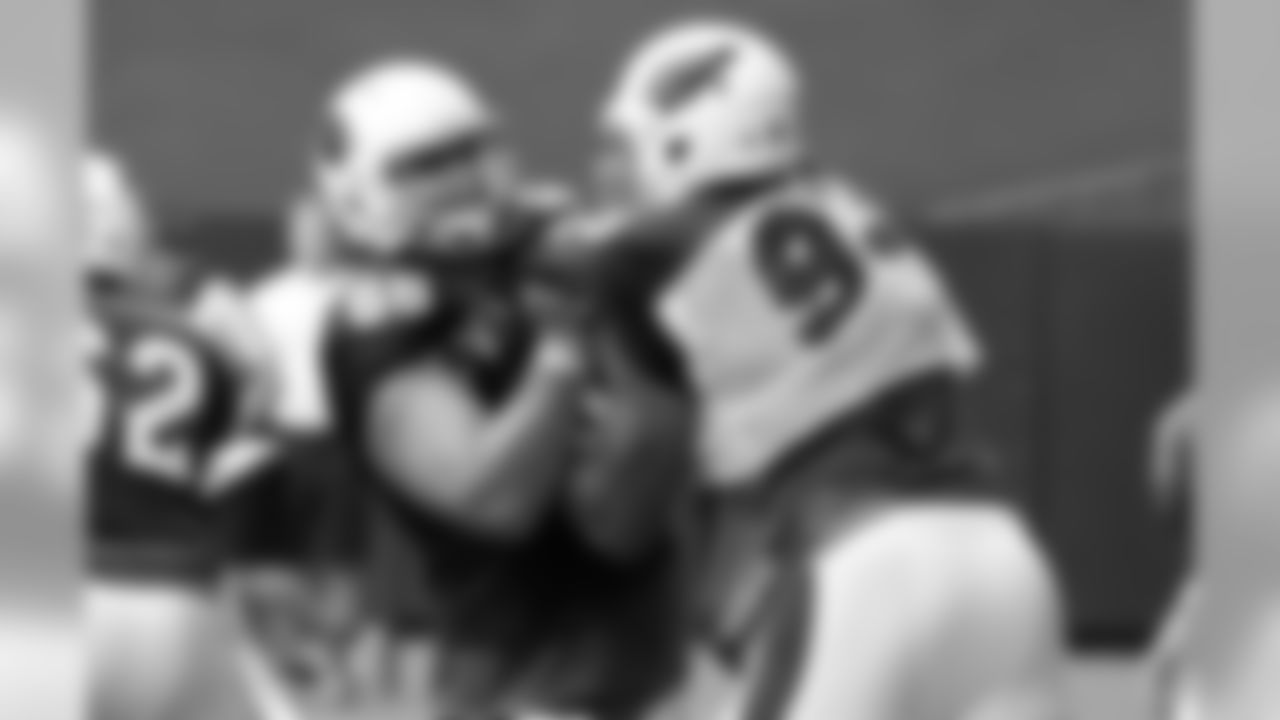
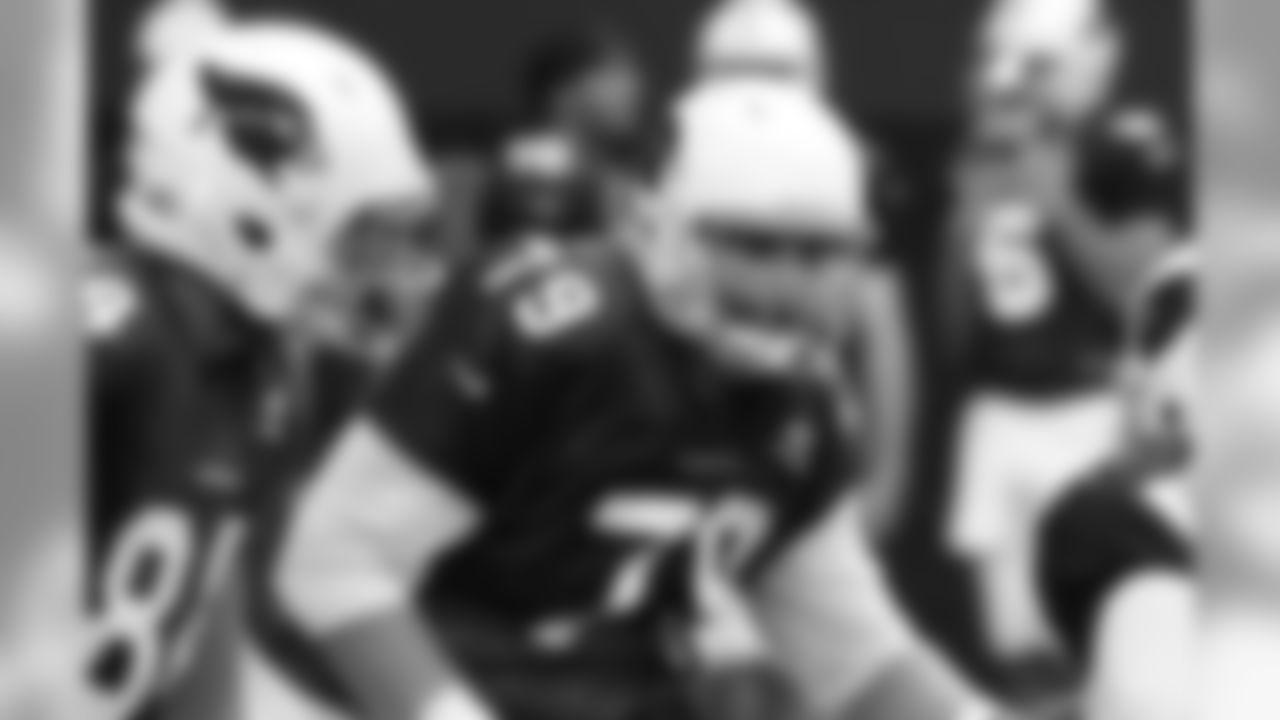
LT Jared Veldheer (left) and DE Calais Campbell square off

5 / 24
TE John Carlson

6 / 24
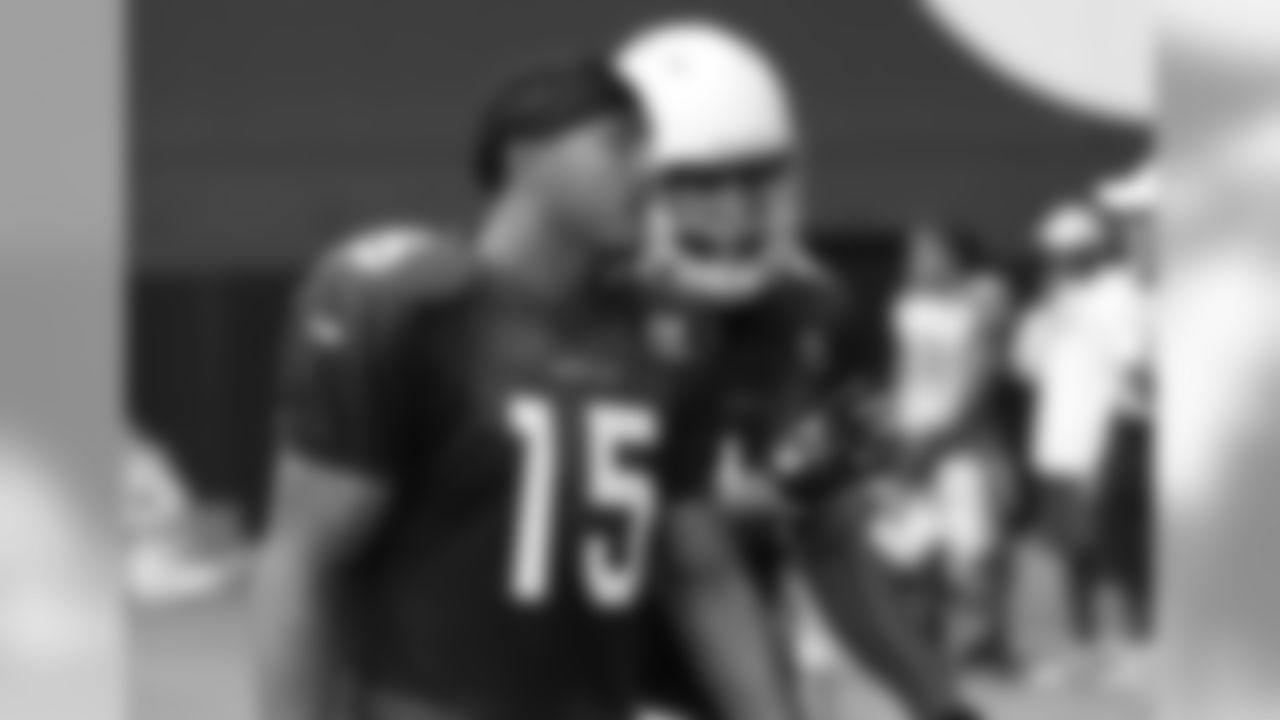
QB Carson Palmer

7 / 24
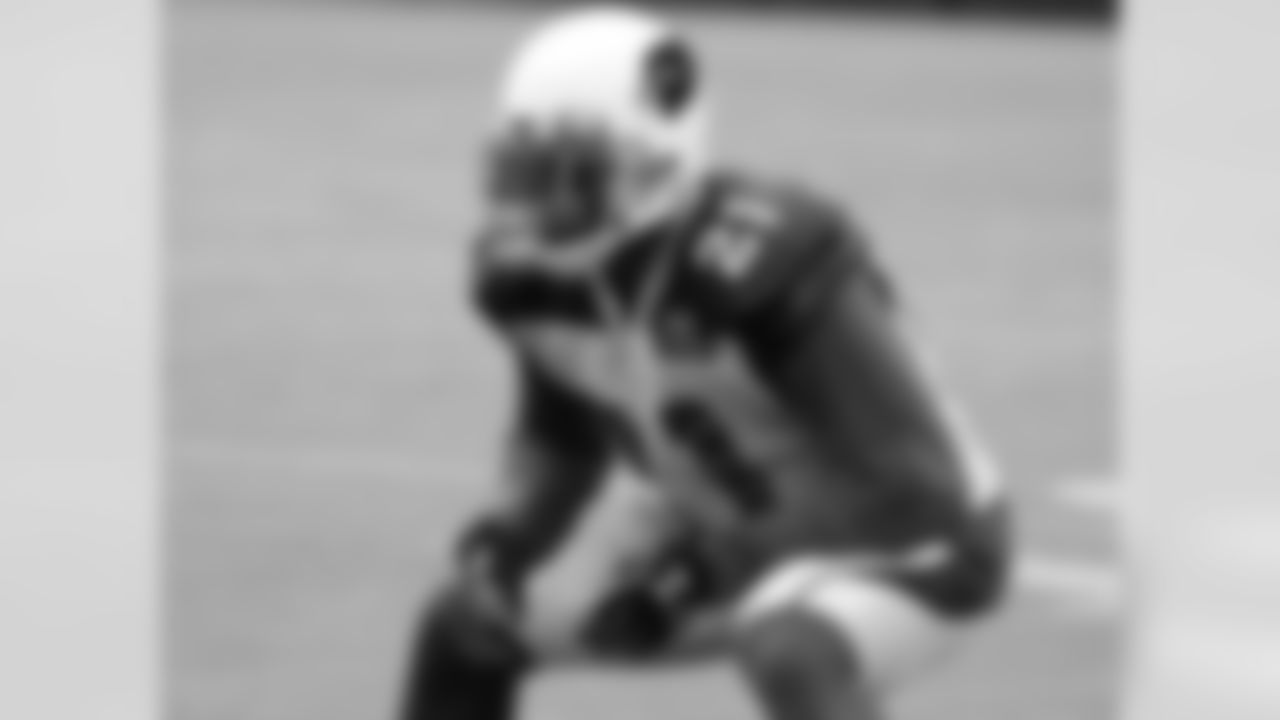
S Deone Bucannon

8 / 24
WR Michael Floyd

9 / 24
WR Ted Ginn
10 / 24
RB Robert Hughes

11 / 24
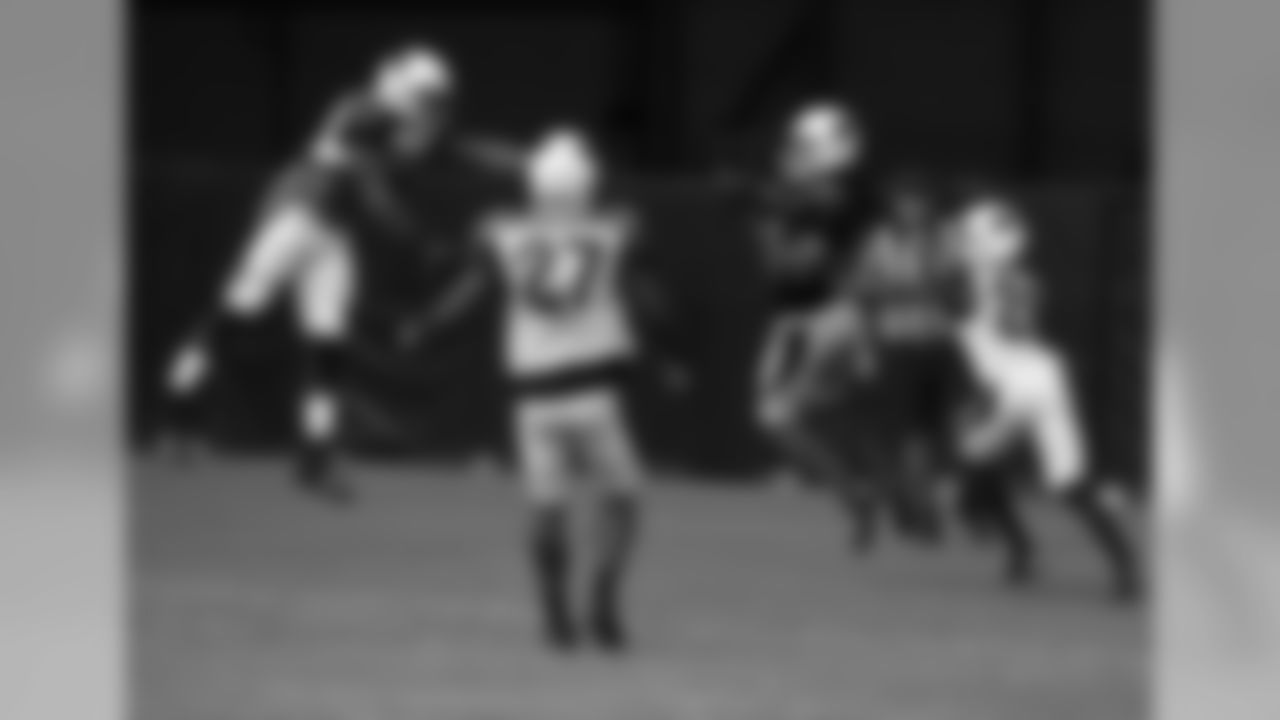
S Tyrann Mathieu signals the field goal is good

12 / 24
WR Michael Floyd
13 / 24
C Ted Larsen points to the defense
14 / 24
RT Bobby Massie doing some blocking
15 / 24
TE Troy Niklas
16 / 24
CB Jerraud Powers (left) and WR Larry Fitzgerald
17 / 24
CB Patrick Peterson
18 / 24
TE John Carlson
19 / 24
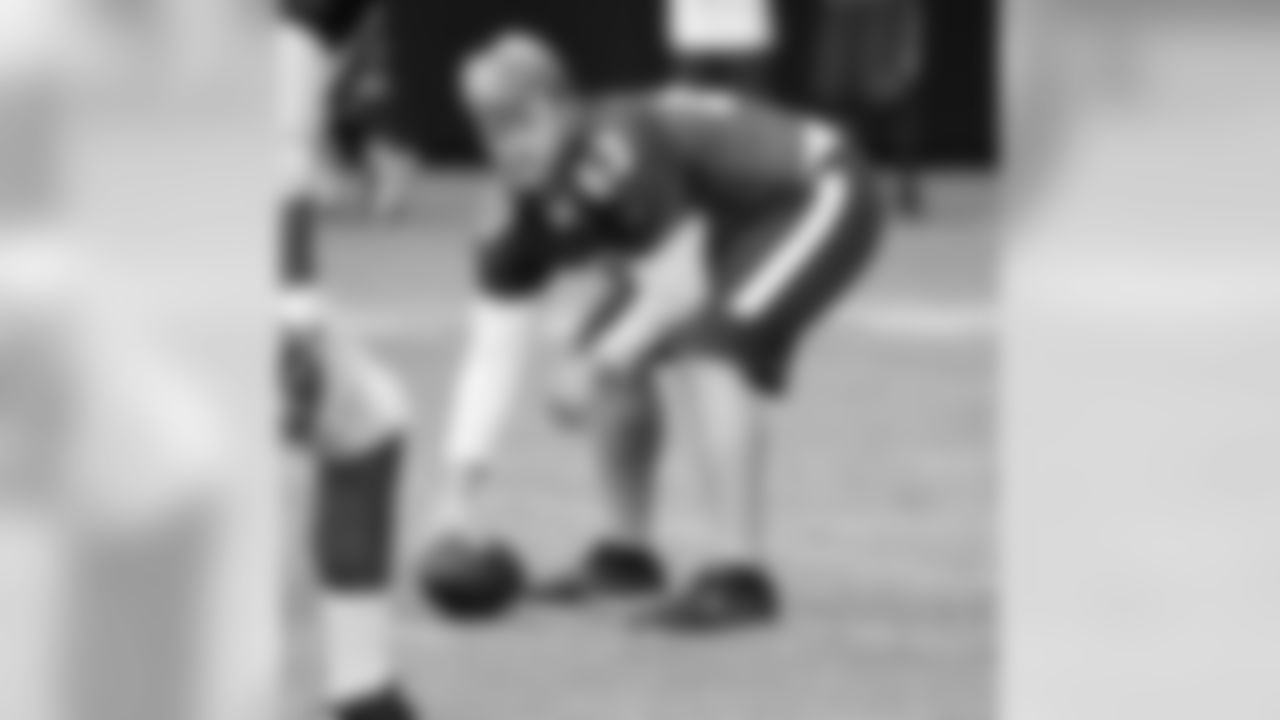
C Lyle Sendlein
20 / 24
OT Bradley Sowell
21 / 24
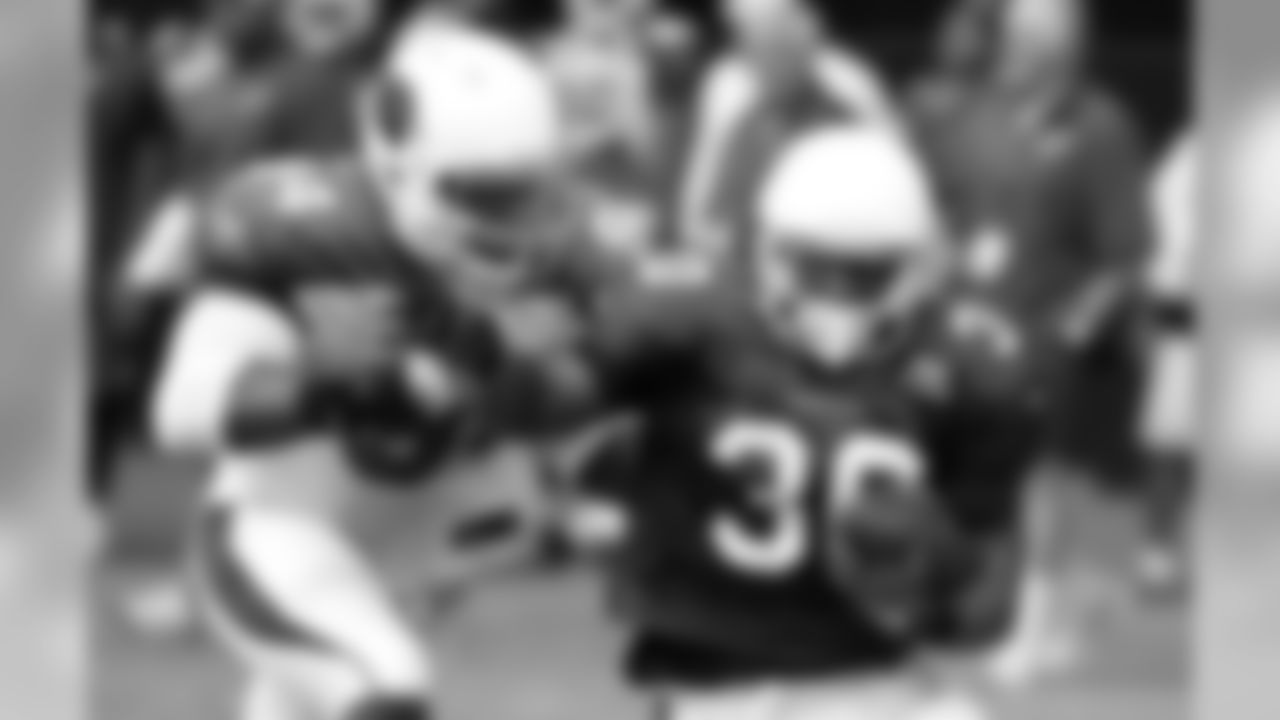
RB Stepfan Taylor

22 / 24
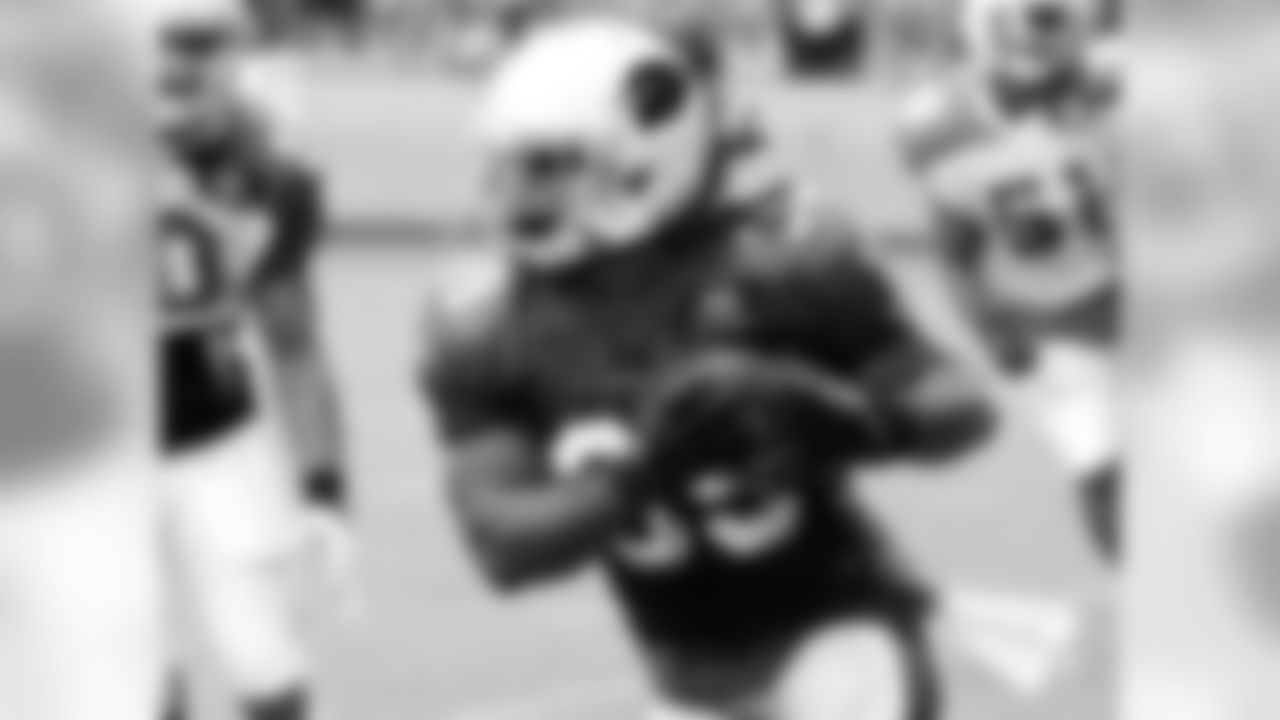
RB Stepfan Taylor runs the ball as S Tony Jefferson approaches
23 / 24
WR Larry Fitzgerald catches a ball in the end zone
24 / 24
WR Michael Floyd (left) talks to WR Larry Fitzgerald
This Ad will close in 3